Easy Nail Art Tutorials for Beginners
Learn three easy beginner nail-art designs with simple tools and clear, step-by-step instructions.

In this guide
Before you paint
- Prep the surface. Remove old polish, gently shape the edge, and wipe each nail clean and dry.
- Use thin coats. Two thin layers dry more evenly than one thick layer and are less likely to dent.
- Leave a tiny margin. Keep polish just away from the cuticle and sidewalls for a cleaner, salon-like finish.
Look one: dotted daisies
Paint a sheer nude base and let it dry. Dip the rounded end of a bobby pin into white polish, then place five dots in a small circle. Add one contrasting dot in the center. Keep the flowers to two accent nails if you prefer a quieter look.
Look two: soft color waves
After your base color dries, use a fine brush to paint one relaxed wave across each nail. A second, thinner line beside it adds depth. The lines do not need to match—variation is part of the design.
Look three: side French
Instead of tracing the entire tip, paint a slim crescent along one side of the nail. Start at the midpoint, sweep toward the tip, and finish with top coat after the design is fully dry.
The beginner nail art kit (under $20 / £15)
You don't need a lamp or a drawer full of tools to start. These basics cover every look in this guide:
- A base coat and a glossy top coat. The base protects the nail from staining; the top coat seals the design and adds shine.
- Two or three polishes. One sheer nude, one white and one colour you love.
- A dotting tool. A bobby pin or the end of a toothpick works until you buy one.
- A fine striping brush. For waves and lines. Clean it in remover after every use.
- A small flat brush and nail polish remover for clean-up around the cuticle.
Common mistakes (and quick fixes)
Smudged designs: wait at least five minutes after the base colour before adding art, and float the top coat on with a loaded brush rather than dragging it. Bubbles: roll the bottle between your palms instead of shaking it, and avoid painting in a hot, steamy bathroom. Wobbly lines: rest your painting hand's little finger on the table for stability and pull the brush toward you in one movement. Thick, gloopy dots: wipe the dotting tool on paper between dots so each one stays the same size.
Practise on a piece of clear tape stuck to the table first. When you like the result, repeat it on your nails.
Questions readers ask
What is the easiest nail art for beginners?
Dots and a side French are the easiest. Both look neat even if your hand isn't perfectly steady.
Do I need a UV lamp for nail art?
No. Every look here uses regular polish that air-dries. A lamp is only needed for gel polish.
How do I make nail art last longer?
Use a base coat, wrap the top coat over the free edge, and reapply top coat every two or three days.
Pin it for later or send it to a friend
Read next
 Nails
Christmas Nails 2026: 12 Festive Manicure Ideas (From Velvet Red to Icy Blue)
The Christmas nail trends for 2026: velvet red, cranberry chrome, icy blue, cocoa chrome, tartan tips and fine French designs, with tips for short nails.
 Nails
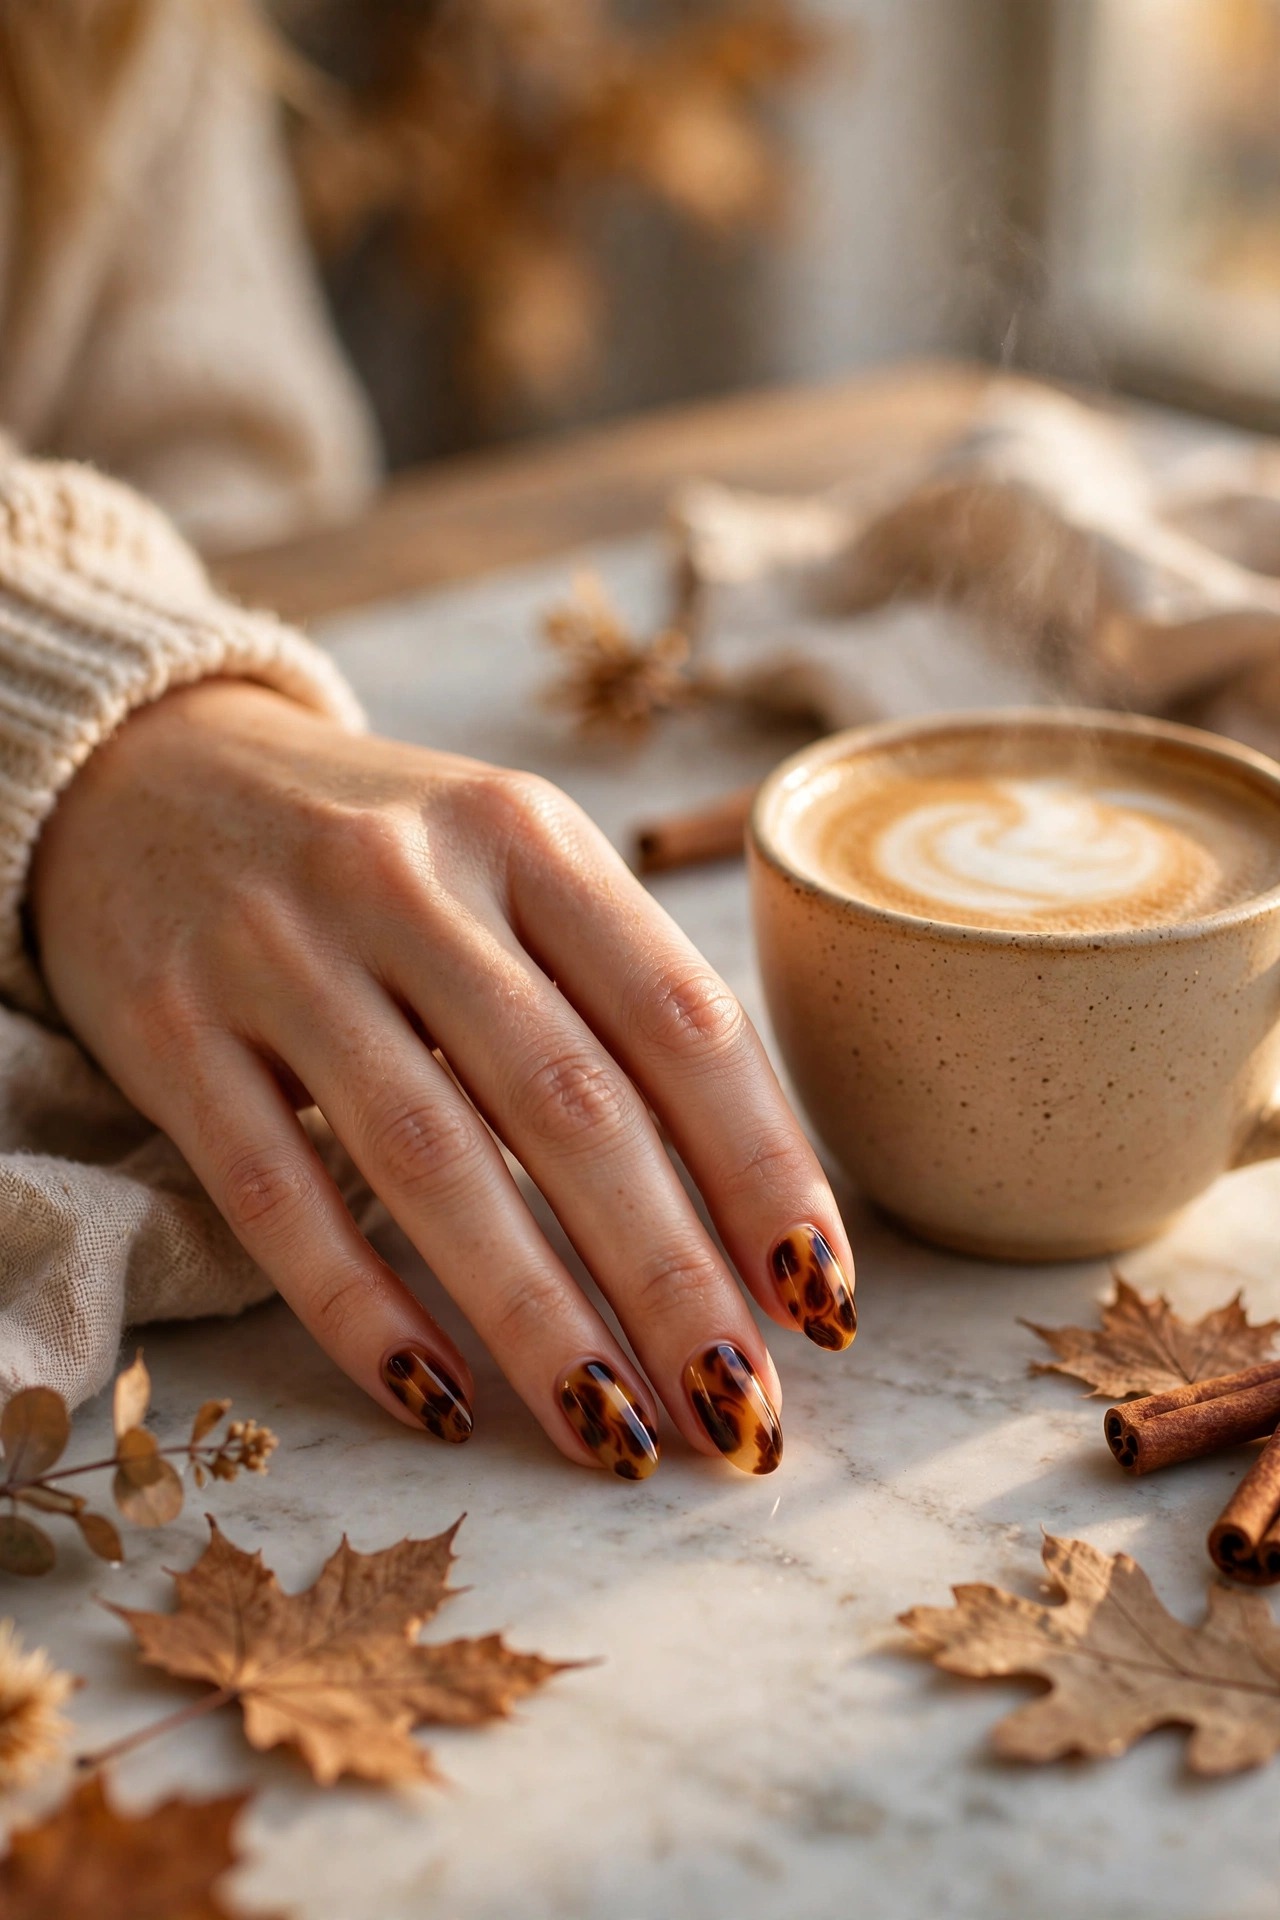
Trending Fall Nails: Tortoiseshell, Chocolate Brown & Gold Tips for October 2026
October 2026's biggest fall nail trends: tortoiseshell swirls, chocolate French tips, gilded gold edges, aura and cat-eye — cozy autumn manicure ideas.
 Nails
Hot Pink Glitter Stiletto Nails with Rhinestone Hearts: Baddie Nail Art
Get baddie hot pink glitter stiletto nails with rhinestone hearts: shaping, glitter application, stone placement and long-lasting wear tips.